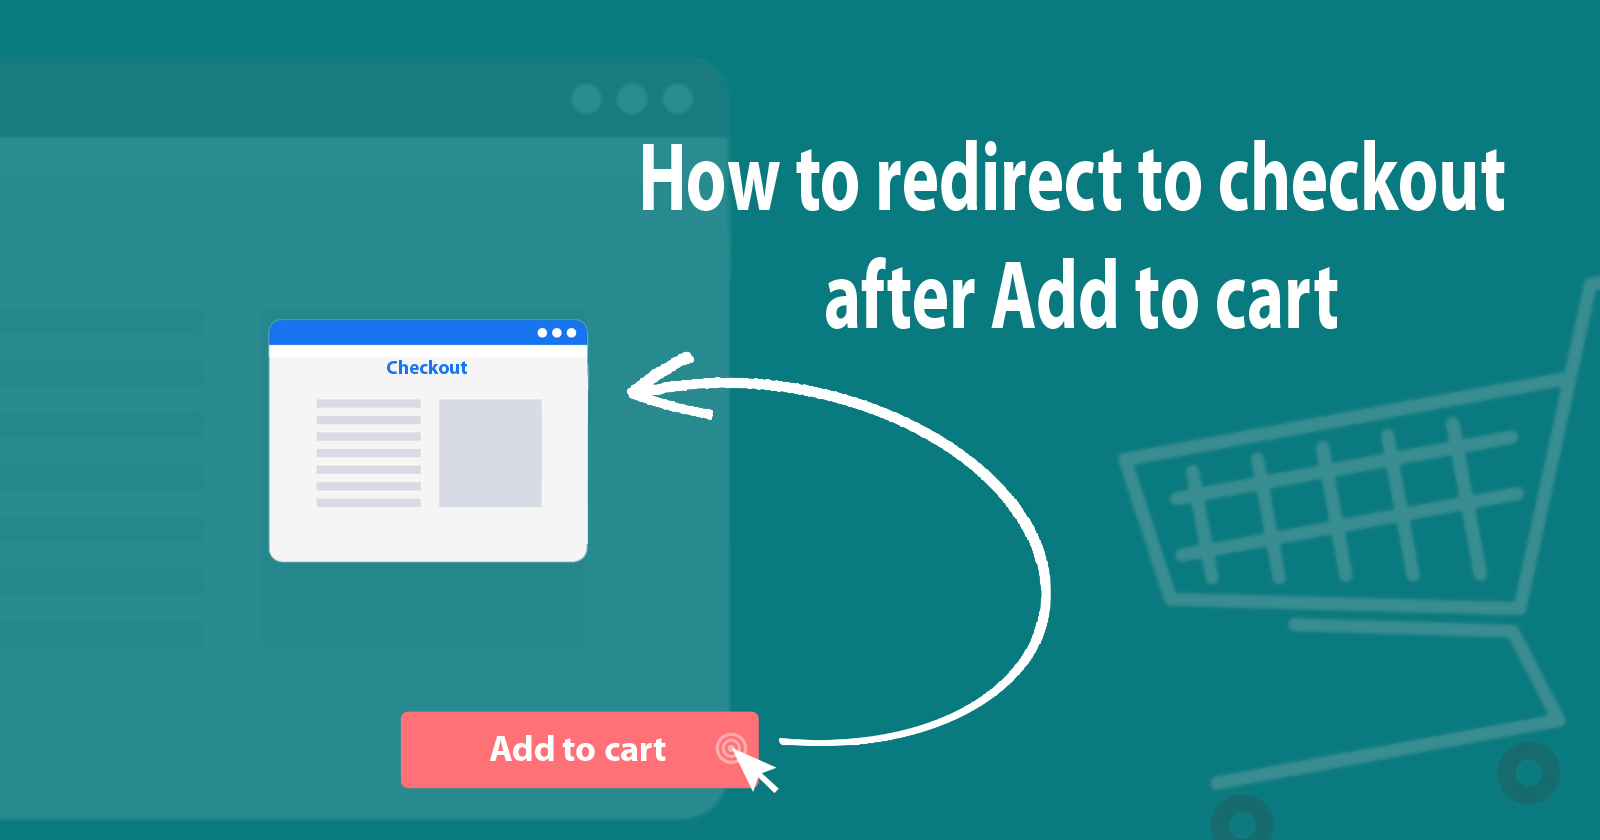
WooCommerce redirects to the checkout page after Add to cart is functionality for force the user to the checkout page after Add to cart and skip the cart page section. So the user can place the order directly without going through the cart page section.
So, In this article, we will learn how to redirect on the checkout page with some settings and function hooks.
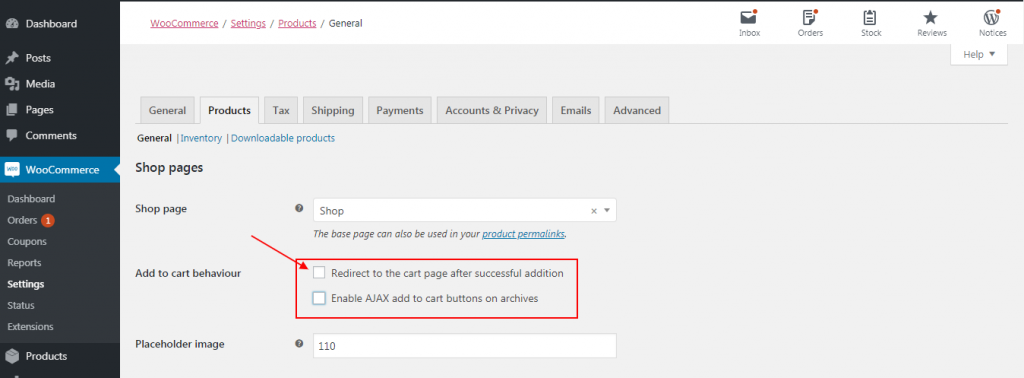
To make this WooCommerce redirect to checkout, firstly you have to know about the default functionality of WooCommerce to redirect it on the cart page. You can check this option under WooCommerce setting page to follow by WooCommerce -> Setting -> Product -> General.
Step 1 (Disable AJAX options):
In the default product tab of the WooCommerce plugin and you will see a lot of options but you have to check the below image option and disable these both options.
Let’s change the text of cart button the coding part. We will use woocommerce_loop_add_to_cart_link and woocommerce_product_single_add_to_cart_text filter hook. You can also add text after or before the add to cart button check here.
Ok So, add this below function hook in your theme’s functions.php file.
Step 3 (Redirect hook):
So, this is our main function to complete this redirect functionality to the checkout page.
Here you can use the woocommerce_add_to_cart_redirect filter hook to modify the default way of redirection after Add to cart.
Look at this function and add in your functions.php file.
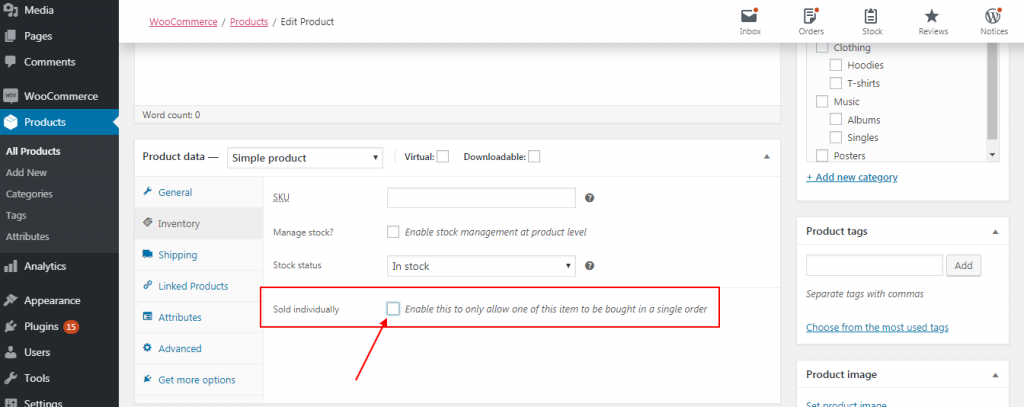
Step 4 (Fix individual products):
You have to enable Sold Individually option under Simple product follow by Products -> Add new -> Simple Product -> Inventory.
If you have already enabled this option then you will get the error message like the below image.

So, for this, we will replace the Add to cart URL with checkout page URL.
Look at this function hook.
Step 5 (Remove success message):
You will notice that when you will click on Add to cart button and then there will be some success message shown, And you want to get rid of this because we already made redirect functionality to the checkout page.

Look at this below function and remove this success message with the help of the below function. You have to add the function in your functions file and save it.
So, In this tutorial, we have learned woocommerce redirect to checkout after clicking on add to cart button.
If you have any queries and doubts please ask me in the comment section.


